This snippet has been extracted from “Creative Homeowner Ultimate guide to Drywall Pro Tips for Hanging & Finishing” by ” John D. Wagner”. Applying brush and roller textures bridge cracks and hide imperfections in substrates. “Painters Washington DC” provides you with relevant information on this topic.
Almost any implement will leave some type of pattern in wet joint compound. Jab-and-dab techniques make use of textured brushes to create distinctive patterns, and you can achieve similar effects using textured rollers. For either of these methods, apply thinned joint compound to the wall or ceiling surface as described for the orange-peel surfaces. Then, while the mixture is wet, you can jab and dab at it with a sponge like the one shown (or a special brush), or you can roll it using a textured roller.
Textured roller sleeves resemble those used for conventional paint rolling, except that they’re covered with a pattern of plastic strands or wires. When rolled across wet joint compound, these strands or wires leave behind a random pattern.
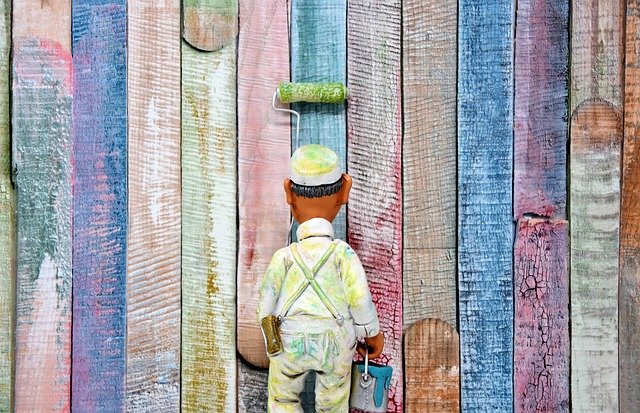
Another textured look can be achieved using a textured brush. This tool resembles a two-headed, side-by-side cloth mop. A handle yokes the two heads, making it easy to press the device into the wet joint compound as you move randomly across the surface to create the texturing. Apply it to the same thinned joint compound that you’d use for the orange-peel textured finish. With a smaller brush or even a sponge, you can make smaller patterns, but this will be a lot more labor-intensive and tedious.
Skim-coating
Occasionally, you’ll encounter a dry walling phenomenon known as ghosting or photographing. These terms refer to when the seams and patches of joint compound show through the layers of paint. This can happen because the joint compound and drywall face paper have different porosities and therefore absorb paint differently. The problem tends to show up most noticeable with gloss paints and in rooms with a lot of natural light.
There are two ways to defeat or reduce photographing. You can take the easy, high-tech approach, and paint the drywall with a primer-sealer. These products have a high resin content that can even out the different porosities and help hide the seams. If you’d prefer a more traditional method, you can skim-coat the entire wall with a thin layer of joint compound. This will eliminate the problem by ensuring that every square inch has about the same porosity. Skim-coating also helps make new drywall blend in better with old plaster if you’re remodeling an older home. Here’s how to apply a skim coat using a conventional nap roller.
Tools and materials
1. 3/8-inch-nap roller
2. Roller pan
3. Water
4. Joint compound
5. Mixer
6. 18to24-inch finishing knife
1. Prepare the wall and the joint compound.
Tape, finish, and sand the drywall joints as explained on pages 106-115. (Skim-coating does not take the place of proper finish work). Thin the joint compound with water to the consistency of paint or heavy cream.
2. Blend the joint compound.
Mix the watered-down joint compound by hand or by using a mixing paddle chucked into an electric drill. Then pour or scoop out this mixture into a roller pan.
3. Apply the skim coat.
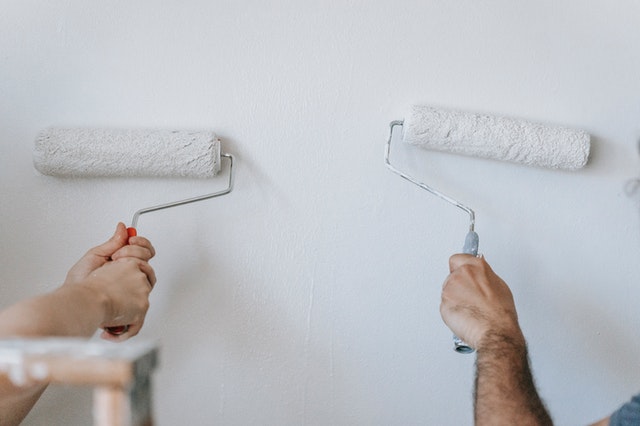
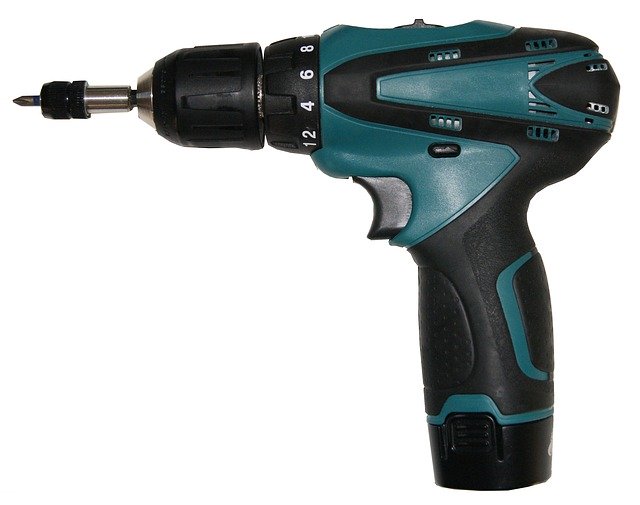
Roll a thin layer of the new mix onto the wall, just as you would a coat of paint or primer. This thinned mixture will dry quickly, so work just one wall at a time. (A roller cover with a thick nap will give the surface a slight texture; if you want perfectly smooth walls, use the lowest-nap roller cover available, and apply an even thinner mixture).
4. Smooth out the wet skim coat.
As soon as you’ve rolled out the thinned joint compound, quickly smooth it with broad, continuous strokes of an 18-to24-inch finishing knife (or the widest knife or trowel that you have available). Work from the top of the wall to the bottom. You can sand out small ridges later, but try to get the skim coat as smooth and consistent as possible using quick troweling strokes of the knife.
Continue reading on Assorted home ideas

