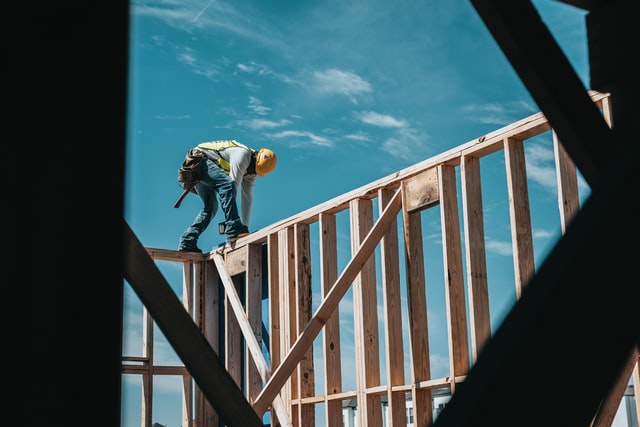
This is an excerpt from the Book called “Tiny House Design & Construction Guide” by Dan Louche. Continue reading to learn more about Wall Framing , thanks to the author.
Much of what was learned in framing the subfloor also applies to the walls.
The wall framing is essentially the same as the subfloor framing. The big difference is that you will need to account for window and door openings in the walls.
Begin by cutting all of the framing boards (e.g. studs, headers, etc.) needed to complete one section of the wall. Mark both the top plate and the kick plate with the location of each stud at the same time. This will ensure that the studs are vertical when attached. Before the wall is erected, it is also a good idea to mark the top of the top plate for the rafters, as doing this later will require a ladder.
The lines for the stud locations are marked using a speed square, which is sized perfectly to cross over two 2×4’s.
Each wall section is constructed laying down and then stood up after it is assembled.
Attach temporary stops along the edge of the subfloor to prevent the wall from sliding off the floor. Stops will also ensure that the wall is properly aligned with the edge once it is erected.
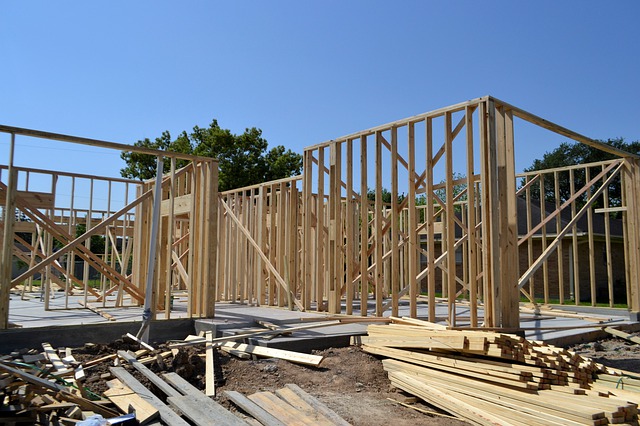
Once the wall is in its proper location, use 3 ½ inch screws every twelve inches to secure the kick plate. Consider using temporary bracing to ensure that erected walls do not fall over before they are properly secured to an adjoining wall. If an adjoining wall is going to be stood up immediately, and it is not windy outside, supports may not be necessary.
Next, work on an adjoining wall so that it can be used to provide stability to the first wall section. At this stage, the walls should only be attached to each other with a minimal amount of screws. They may need to be removed later when the walls are squared and leveled.
Headers
Some wall sections may require a header. A header is a section of the wall frame designed to bear weight and bridge an opening. Headers are usually found over a door or window wide enough to intersect at least one load-bearing stud.
A header is composed of two 2x(e.g. 2×4, 2×6, etc.) pieces of lumber with a ½ inch piece of filler sandwiched in the center, all cut to the proper length and nailed or screwed together. The filler can be either plywood or foam insulation. The combined width of these materials is 3 ½ inches, making it the same width as the wall. When installing a header, be sure the orientation is such that the filler edge is visible from the top and bottom.
As with the other sections of the wall framing, if the design plans call for any higher level walls, like those found on a dormer, I recommend constructing these sections on the ground and then lifting them into place.
Wall Sheathing
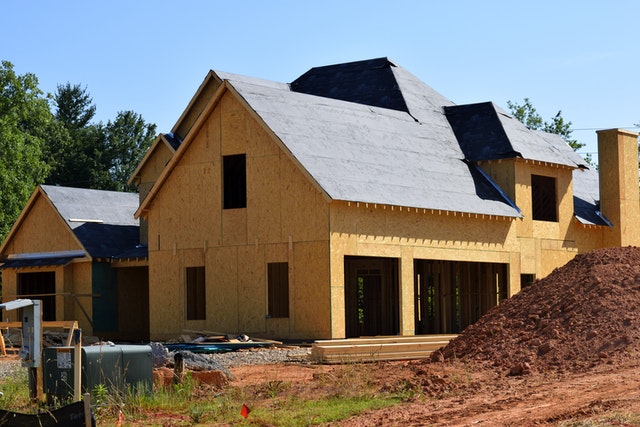
Wall sheathing is attached to the outside of the studs, providing support to the framing and a base for the siding.
The wall sheathing material is 15/32 inch plywood. It is attached with construction adhesive and 2 inch screws. Exterior wall sheathing should be installed vertically. This orientation provides the most strength, since there are no unsupported or unscrewed seams.
To attach the sheathing, begin in a corner of the house and cut a sheet to the correct size, with any openings required. Mark the stud locations on the sheathing to assist with screw placement later. Add construction adhesive to the studs, top plate and kick plate in the area where the sheet is to be attached. Attach a few temporary support pieces under the subfloor overhang to rest the plywood on. This will save your back and ensures that the sheathing is even with the bottom of the subfloor once stood up.
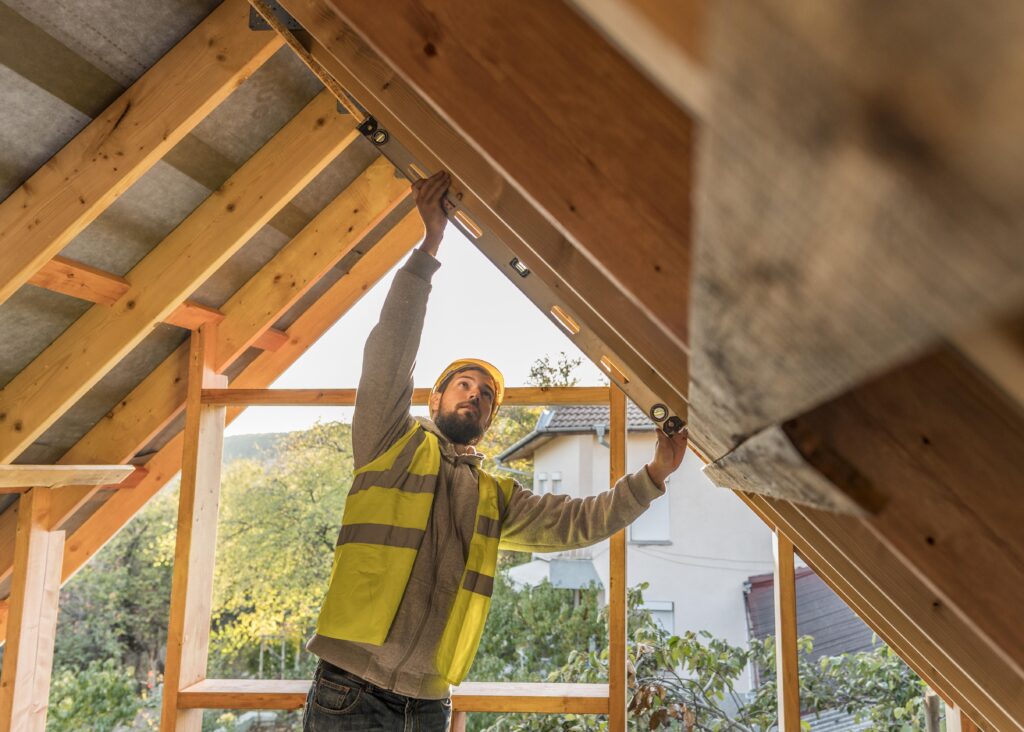
A sheet of sheathing can be expected to be very square; all four corners are 90 degrees. You can assume the wall is square if the sheet of sheathing is even with both the bottom of the subfloor and outside edge of the wall.
Verify this with a level and make any fine adjustments, as necessary, before screwing it in place. You may need to remove screws securing the wall to the adjacent walls, so that the wall can be easily moved and made square.
On the outside edges of the sheathing, the screws should be approximately 6 inches apart. On the inside studs, screws should be 12 inches apart. Offset or stagger the screws along the seams of adjoining pieces of sheathing.
Fixing Warped Plywood
If the sheathing of the house gets wet before you have a chance to protect it with the housewrap, it may wrap. If the wood warps and protrudes into the wall cavity, it will not interfere with the installation of the siding; however, it will reduce the amount of insulation that can be used in that section of the wall.
In this case, correcting the warped material is optional. On the other hand, if the wood warps out from the wall, then fixing it will be required. At this stage, it will likely be easier to repair the wall than to replace components, since the sheathing is glued into place.
To repair warps, set the blade depth of a circular saw to approximately half the thickness of the sheathing. Cut several expansion slots into the sheathing, on the side where the sheathing is expanding. On the inside, place a 2×4 against the sheathing and screw into it from the outside. As the 2×4 is crewed into, it will be pulled tight against the sheathing and will straighten it.


